mBlock 5 Tutorial Philippines 2026: Download, Setup, Coding & Robotics Guide
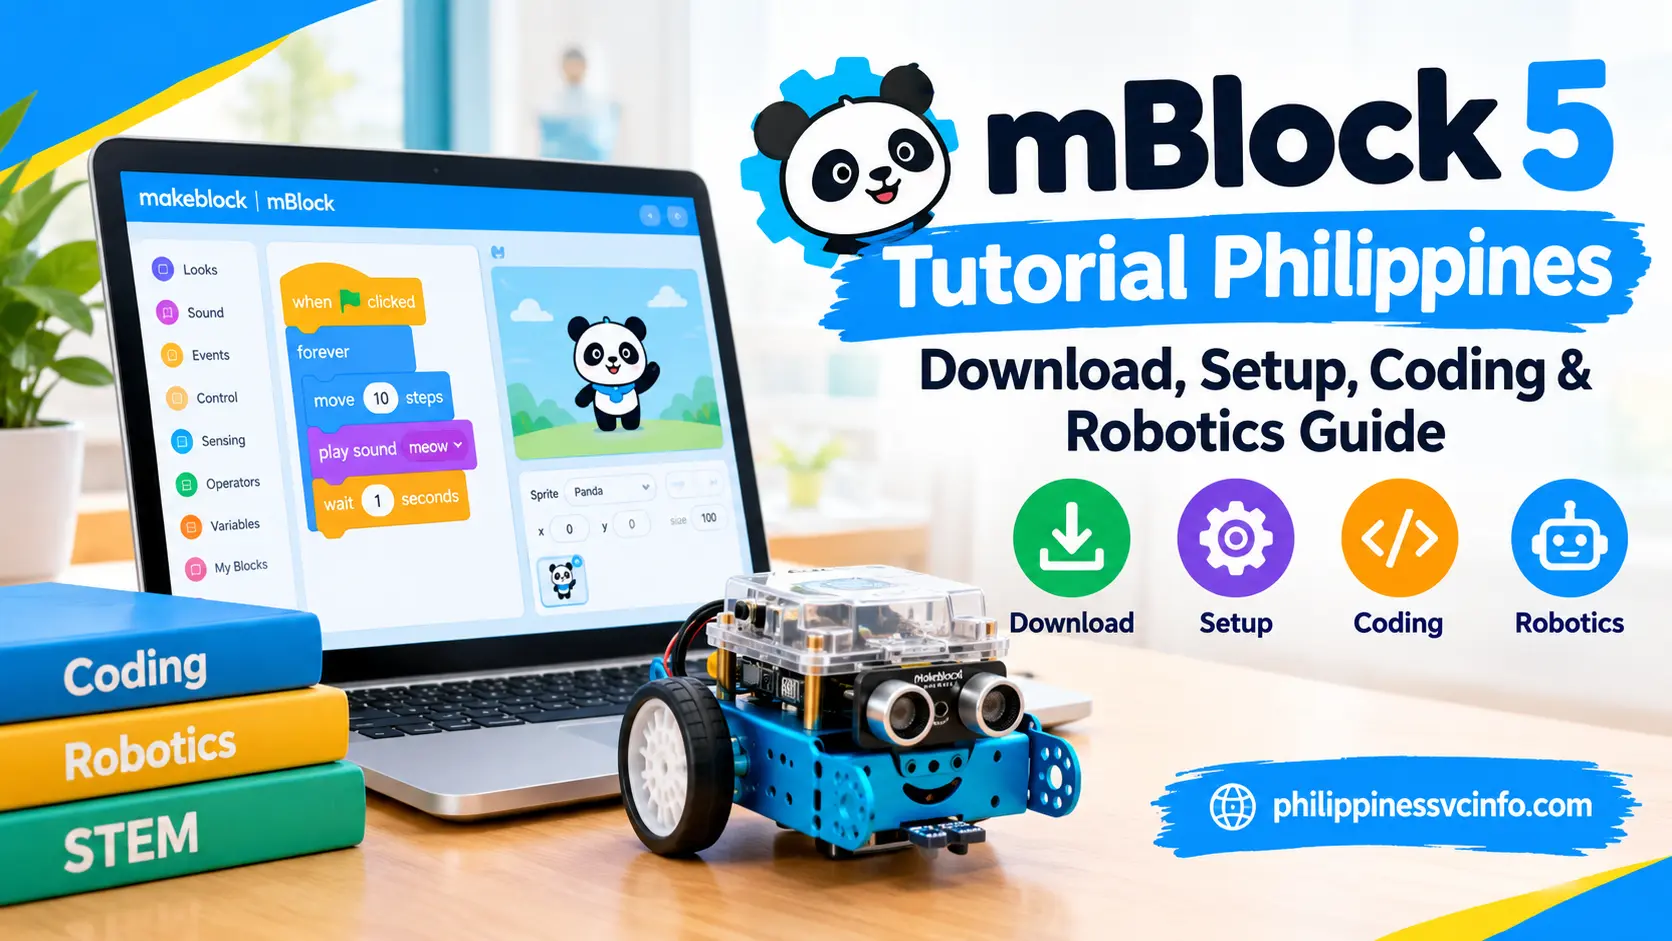
mBlock is a STEAM programming platform developed by Makeblock, based on Scratch 3.0, that helps beginners learn coding through visual blocks and Python. It enables users to create interactive games, animations, and stories, while programming compatible robots and microcontrollers. mBlock also supports educational activities involving artificial intelligence, robotics, and IoT.
What Is mBlock 5?
mBlock 5 is a STEAM learning and programming environment that connects software-based activities with physical computing. Its visual editor lets users assemble coloured coding blocks, while its Python tools provide a path towards text-based programming.
Depending on the compatible device and project, you can use mBlock to:
- Create animated scenes, stories and interactive games.
- Program supported Makeblock robots, including mBot models.
- Explore compatible Arduino boards and BBC micro devices.
- Learn programming concepts such as loops, conditions, events and variables.
- Experiment with supported AI, sensor and IoT features.
- Progress from visual programming towards Python.
The platform is particularly useful for beginners because you can focus on what a program should do before worrying about every punctuation mark in a programming language.
Choose the Right Version of mBlock
Before installing mBlock, decide whether you want to work in a browser or use the desktop application. Both options support coding, but the best choice depends on your computer, internet connection and hardware requirements.
| Feature | Web version | Desktop version |
|---|---|---|
| Installation | Opens in a supported browser | Requires installation |
| Internet | Generally required for online access and cloud features | Can support offline editing |
| Hardware connection | May require mLink | Supports compatible direct connections |
| Best use | Trying coding or working on supported school devices | Regular projects and hardware programming |
Use mBlock online
Open the official platform at mBlock to access the browser-based coding environment. This option is convenient when you want to begin without installing the full desktop application.
If you plan to connect a robot through USB, check whether your setup requires mLink, Makeblock’s connection service for the web version. Browser and device compatibility can affect the available connection methods.
Install the desktop application
Visit the official download page . Choose the version that matches your operating system and processor, then follow the installation instructions.
The official download page lists Windows and macOS desktop options, along with mobile applications and mLink downloads. Check the current requirements on that page rather than assuming that every release supports the same operating systems.
Which version should you choose? Use the web version for convenient browser-based coding. For regular robotics work, offline editing or a classroom computer that needs dependable access to projects, the desktop application is often the more practical starting point.
System Requirements and Preparation
The exact requirements vary by software release and device, so consult Makeblock’s official download information before installation. Your computer must also support the connection method used by your robot or controller.
Prepare the following:
- A compatible Windows or macOS computer, or another supported device.
- A current, supported browser if you plan to use the web version.
- A stable internet connection for downloading software and accessing online features.
- A suitable USB data cable or compatible Bluetooth connection for your hardware.
- The correct driver or mLink service if your connection method requires it.
For example, a USB cable that only supplies power may turn on a board without allowing the computer to exchange data. If the device powers up but never appears in the connection list, test a known data-capable cable before changing software settings.
Install mBlock and Prepare Your Account
Getting started is straightforward when you download the application from the official source.
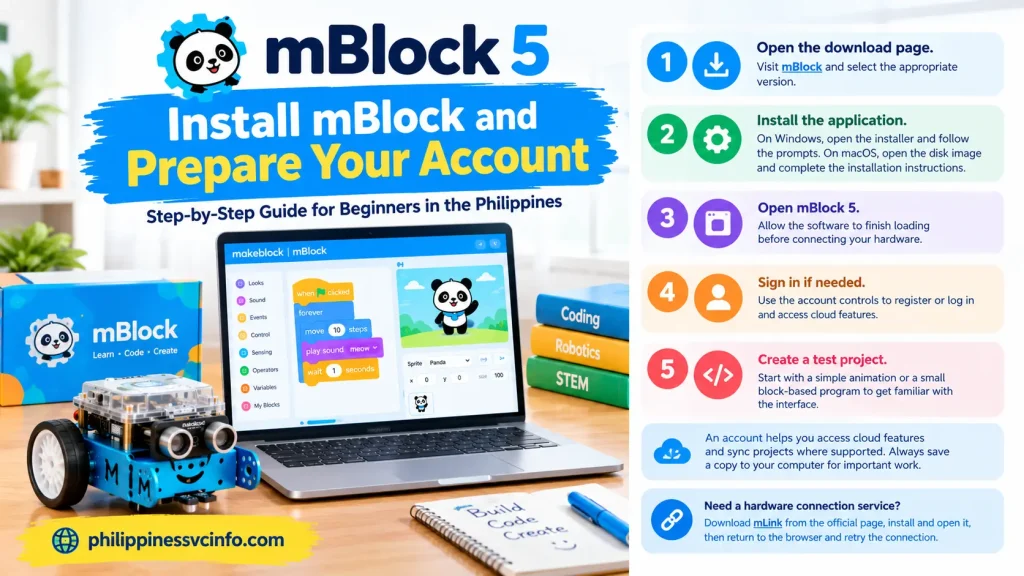
- Open the download page. Visit mBlock and select the appropriate version.
- Install the application. On Windows, open the downloaded installer and follow its prompts. On macOS, open the downloaded disk image and complete the installation instructions.
- Open mBlock 5. Allow the software to finish loading before connecting your hardware.
- Sign in if needed. Use the profile or account controls to register or log in when you want to access account-based features.
- Create a test project. Start with a basic animation or a small block-based program to become familiar with the interface.
An account may help you access cloud-related functions and synchronise projects where supported. However, local project saving is also important. Save a copy to your computer when working on school assignments or projects that you cannot afford to lose.
If you are using the browser version and need a hardware connection service, obtain mLink from the official download page. Install and open it as directed, then return to the browser and retry the connection.
Understand the mBlock Workspace
The workspace is where you choose coding instructions, arrange them into a program and test the result. Although the exact layout can differ between editors and device configurations, the main concepts remain similar.
- Blocks area: Contains commands organised into categories. Drag the blocks you need into the programming workspace.
- Scripts or coding area: This is where you connect blocks to define the order in which instructions run.
- Stage area: Used for sprites, backgrounds, animations and interactive scenes when working with stage-based projects.
- Devices tab: Lets you select and program supported hardware.
- Sprites tab: Lets you create and control on-screen characters and objects.
A useful first exercise is to select a sprite, add an event block such as the green-flag trigger, and attach a movement or appearance block. Run the project and change one value at a time. This helps you understand how each instruction affects the outcome before you start building larger programs.
Connect mBlock to a Robot or Controller
One of the most useful features of mBlock is the ability to move beyond on-screen projects and control compatible physical devices. The exact options depend on your hardware model and software version.

Step 1: Add your device
Open the Devices tab and select the option to add a device. Choose the supported model you intend to program, such as mBot, CyberPi or another compatible controller, then confirm your selection.
Do not choose a device simply because it has a similar name. The selected model determines which commands, sensors and programming modes are available.
Step 2: Connect using USB or Bluetooth
Switch on the controller or robot and connect it using a compatible USB data cable or supported Bluetooth connection.
For USB, the operating system should detect the device and expose the appropriate connection port. For Bluetooth, enable the required wireless connection and make sure the device is powered and within range.
Step 3: Establish the connection
Select Connect in the device controls. Choose the appropriate available port or Bluetooth device and confirm the connection.
If the device is not listed, check the cable, power supply, connection permissions and required drivers. Browser users should also verify that mLink is running if their configuration requires it.
Learn the Main Block Categories
mBlock’s visual editor uses categories of commands to make programs easier to organise. The available categories and colours can vary according to the selected sprite, device and extensions.
Here are the core programming concepts worth learning first:
- Events: Determine when a program begins or responds to an action, such as clicking the green flag.
- Motion and actions: Control sprite movement or supported robot actions, including motor commands.
- Looks and sound: Change a sprite’s appearance, display text or play audio.
- Control: Repeat instructions, create loops and run conditional statements.
- Sensing: Read supported inputs, including buttons and hardware sensors.
- Operators and variables: Perform calculations, compare values and store information.
You do not need to memorise every block. Start with the commands needed for your project and learn additional categories as your programs become more complex.
Example: Build a basic obstacle-avoiding robot
An obstacle-avoidance project teaches a robot to react to the distance measured by a compatible ultrasonic sensor.
The program follows this logic:
- Start the robot’s program.
- Keep checking the distance sensor.
- If an obstacle is closer than 15 cm, move backwards briefly and turn right.
- Otherwise, continue moving forwards.
- Repeat the process.
A simplified pseudocode version looks like this:
When the robot program starts:
    Repeat forever:
        If distance is less than 15 cm:
            Move backwards briefly
            Turn right briefly
        Otherwise:
            Move forwards
This is an illustration of the logic, not a universal block sequence. Select the correct sensor and movement blocks for your device. Test at a low speed in an open area, and keep hands and loose objects away from moving wheels.
Why does the loop matter? Without repeated sensor checks, the robot might only react once and then continue without noticing a new obstacle. A loop allows it to reassess its surroundings throughout the run.
Move from Blocks to Python
Visual coding is an effective introduction to programming, but text-based code becomes useful when you want more control over program structure or need to learn conventional programming syntax.
mBlock provides block-based and Python editing options. Depending on the editor and hardware, you may be able to inspect generated code, switch editing modes or use a dedicated Python editor.
View the code behind your blocks
Create a small block-based program and look for the Python view or code-switching control available in your version. Compare the instructions in the two views to see how a visual sequence translates into text.
This is a useful way to learn variables, conditions, loops and program flow without having to write everything from scratch.
Open the Python editor
For supported workflows, use the Python editor from within mBlock or visit the official editor at:
Makeblock documents Python editing and device programming in its official Python programming guide.
For example, a basic Python program can display a message:
message = "Hello, mBlock!"
print(message)
This example introduces a variable and an output statement. Hardware programming requires the appropriate device, library and execution mode.
Understand Live and Upload modes
These modes are not interchangeable:
| Mode | How it works | When to use it |
|---|---|---|
| Live | The connected computer runs or sends instructions during the session | Testing and interactive control |
| Upload | A supported program is transferred to the hardware for independent execution | Projects that need to run without continuous computer control |
Upload compatibility depends on the selected device and programming language. Some blocks or libraries may not work in every mode.
For example, Makeblock’s Python documentation explains that CyberPi’s Python editor supports Live and Upload modes, with different library and execution restrictions. Check the documentation for your particular board before assuming that any Python program can be uploaded.
Explore Extensions, AI and IoT
Extensions add commands or capabilities to supported projects. They can make it possible to work with additional hardware functions, sensors or learning activities without building every feature from the beginning.
To explore them, open the relevant device or sprite area and look for the Extension or Extension Center option. Browse the available choices, select a compatible extension and follow its instructions.
Depending on the supported setup, extensions and related tools may introduce activities involving:
- Additional device controls and sensor inputs.
- AI demonstrations, such as supported image or speech recognition.
- IoT concepts, including data exchange with compatible services.
- Extra programming blocks for particular hardware or projects.
Availability varies by editor, device, account, region and service. Some AI functions rely on online processing or usage quotas, so they may require an internet connection even when ordinary coding works offline.
For beginners, the best approach is to add one extension at a time. Test its example project first, then incorporate its commands into your own program. This makes it easier to identify whether an issue comes from the extension, your code or the hardware.
Troubleshoot Common mBlock Problems
Connection errors can interrupt a project, but most are caused by a small number of issues. Check one possible cause at a time rather than reinstalling the software immediately.
| Problem | Possible cause | What to try |
|---|---|---|
| Serial port is missing | Faulty cable, driver or USB connection | Try another data cable and USB port; check the required driver |
| Web version cannot connect | mLink is not running or the browser connection is unsupported | Open mLink, check compatibility and refresh the browser |
| Robot does not respond | Wrong device, mode or connection | Confirm the selected model and reconnect |
| Upload fails | Unsupported blocks, language or device settings | Check upload compatibility and review the error message |
| Bluetooth disconnects | Low battery, interference or excessive distance | Charge the device and test closer to the computer |
| Python code does not run | Missing library or incompatible execution mode | Check the error message, library requirements and selected mode |
A practical troubleshooting sequence
- Check that the robot is switched on and sufficiently charged.
- Confirm that the selected device matches your actual hardware.
- Test the USB cable and connection port.
- Restart mLink if the web version needs it.
- Check the official troubleshooting instructions for your software version.
- If necessary, review firmware guidance before attempting an update or reset.
Avoid resetting firmware as your first response to every connection problem. Confirm the cause and follow the instructions for your specific hardware.
Use the official mBlock 5 support section for troubleshooting articles and device-specific guidance.
Is mBlock Free to Use?
mBlock provides free coding tools, including web and desktop options, along with supported programming and educational features. However, not every associated service necessarily has the same access conditions.
| Feature | What to know |
|---|---|
| Block-based coding | Available in mBlock |
| Python programming | Supported, with device-specific limitations |
| Compatible robotics | Depends on the selected hardware |
| Offline editing | Supported by the desktop application |
| AI and cloud services | Availability, quotas or account requirements may vary |
| Educational resources | Tutorials and learning materials are available through official resources |
The software being free does not mean every robot, accessory or classroom service is free. Hardware must generally be purchased separately, and cloud-based features may have usage limits or additional requirements.
Check the official download page and Makeblock software overview for current availability rather than relying on old pricing claims.
Frequently Asked Questions About mBlock
Final Thoughts
mBlock 5 provides a practical route from beginner-friendly visual coding to more advanced programming and robotics projects. You can begin with a small animation, learn how loops and conditions work, and then apply the same ideas to a compatible robot or controller.The most effective way to learn is to build one working project at a time. Choose the right software version, confirm your hardware connection, test small changes and use official documentation when a feature behaves differently from expected. With that foundation, mBlock can support a wide range of creative coding and STEAM learning activities.
Discover What You Need to Know:
- LTO CDE Online Validation Exam Philippines 2026: Complete Guide
- Silliman University Philippines 2026: Admission, Courses, Fees & Portal Guide
- Edusuite Portal Login Philippines 2026 : Stdent Enrollment, Grades, Payments & Parent Guide
- Police Open Academy Philippines 2026 : Login, Registration, Courses, TLL & Training Guide
- Form 138 Philippines 2026 : How to Request Your DepEd Report Card Online
- NU Manila Philippines 2026 : Admission Requirements, Courses, Fees, Scholarships & Login Guide